Stroke in Photoshop
Stroke in Photoshop is one of the Layer style attribute. It is used to give an outline to the text or image. We can fill the stroke with Color, Gradient or Pattern.
Stroke Example
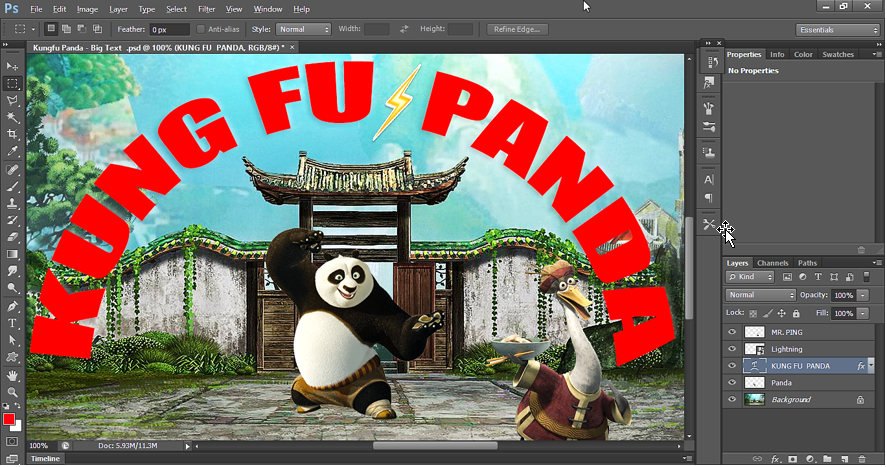
Let’s open the photoshop file with Text Layer as shown below. We will apply the stroke on Text layer and will see the effect of stroke on Text layer.
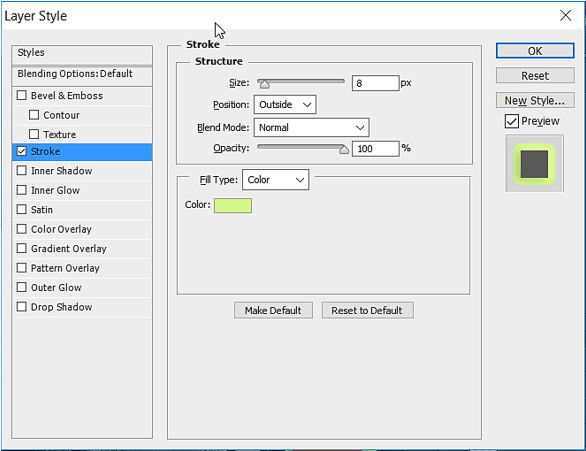
To apply Stroke, right click on the text layer and select Blending Options. Then select Stroke in the Layer Style window as shown below. In fill type, select “Color”.
Below is the effect of Color stroke:

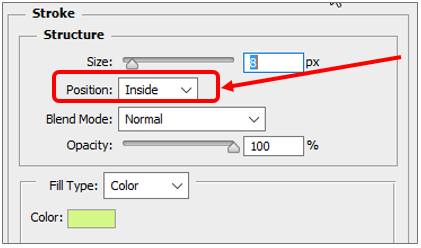
Now set the Stoke position as “Inside”. Below is the Stoke settings:
Below is the effect of Color stroke with Position=Inside:

Now set the Fill Type as “Gradient”. See below:

We have selected the first gradient in the listed, which is combination of Red and white color.
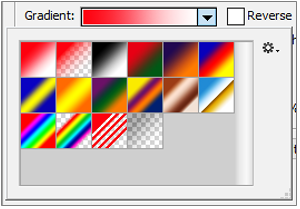
Note that the Gradient color which appears in the list are combination of Foreground & Background color (Red and white here), as well as the combination of Red-Green-Blue(RGB).
Below is the Stoke output for above settings:

Now set the Fill type as “Pattern”. It will fill pattern in the stroke. See settings below.
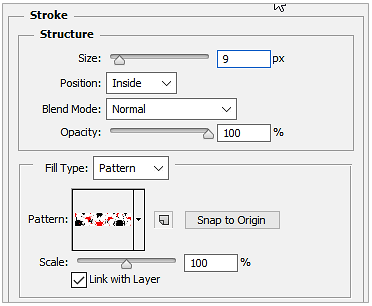
Below is the output: