Eraser Tool in Photoshop
Eraser Tool in Photoshop is used to remove the pixels around an area and hence exposing the layer beneath it.
If the underlying layer is a transparent background, then transparency is exposed and if the underlying layer is some background color then that color is exposed by erasing the pixel from current layer.
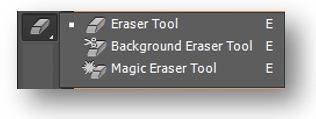
There are 3 variation of Eraser tool as shown below:
Eraser Tool example:1 - Erase a Selection on the canvas
Let’s demonstrate the standard Eraser tool  . Open below image in Photoshop application.

We have a Lower background layer of pink color as shown below. Now make a circular selection on the canvas using Elliptical marquee tool  .
.
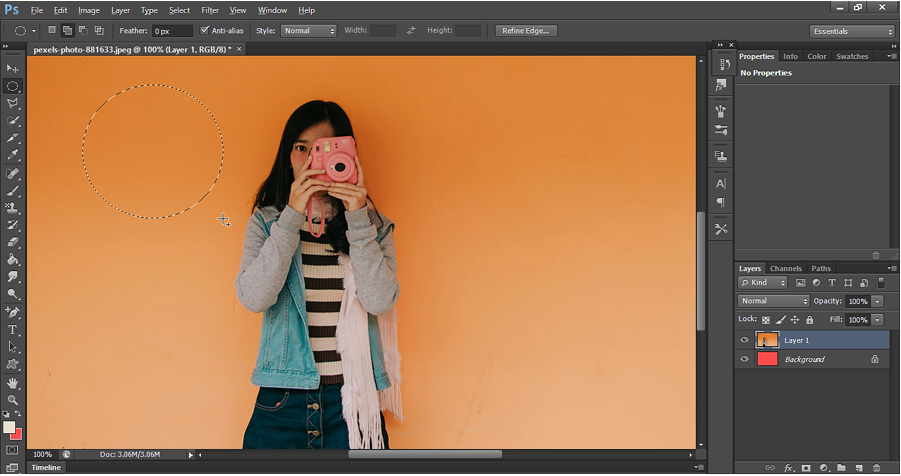
If we have a selection on the canvas then the Eraser Tool will erase the pixels only inside the selection, not outside of the Selection.
In Eraser option bar, the Eraser Mode is selected as Brush. It means that the eraser tool will appear as a brush on the canvas but instead of painting an area, it will remove the pixels from those areas. Let’s paint the canvas with eraser tool with below option bar settings.

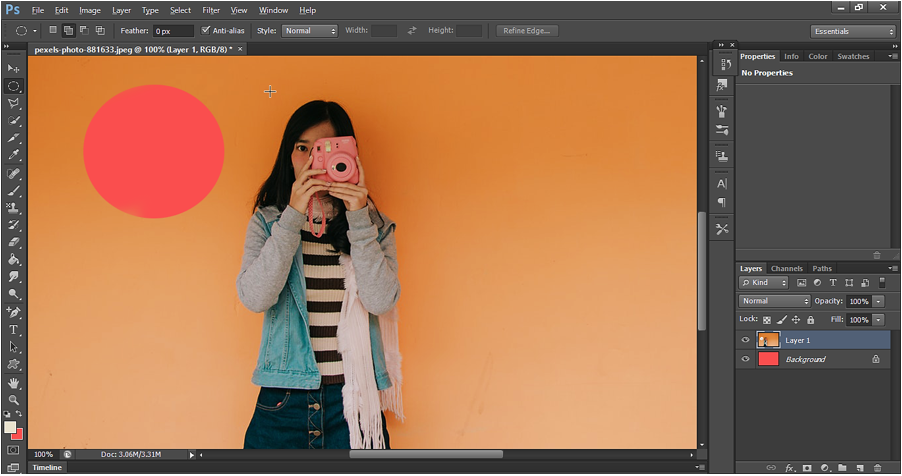
As we can see below that the pixels from current layer is deleted to expose the pixels of underlying layer. Also due to a selection on the layer, only inside pixels are deleted.

Finally, after deleting all the pixels, we have the below image.
Eraser Tool example:2 - Erase a Selection with different shape brush
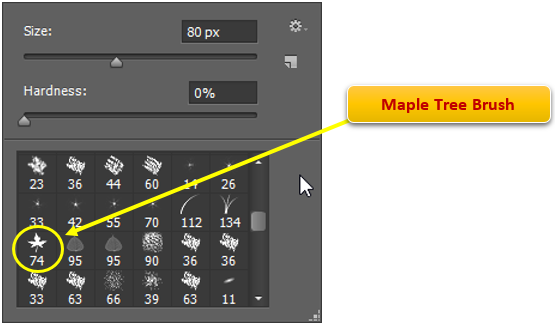
Go to Option bar and select ‘maple tree brush’ as shown below.
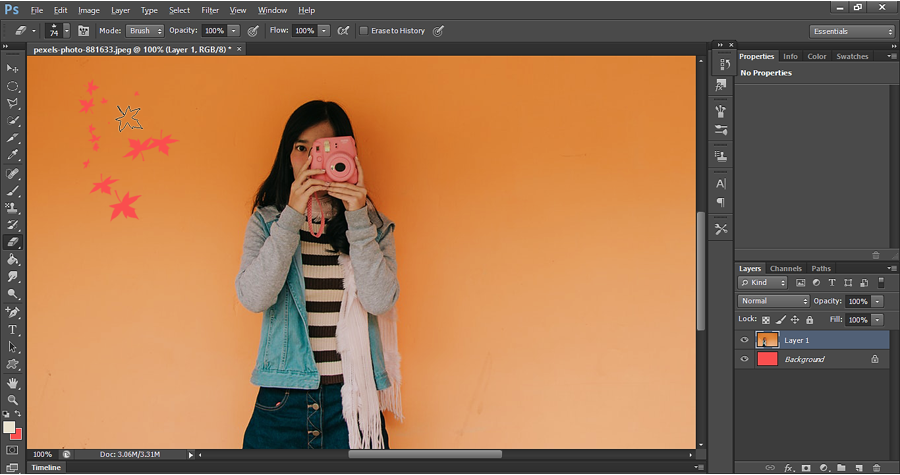
Now paint the canvas with this eraser brush. Note that the opacity is 100%.

Now apply the brush on the canvas. The brush will erase the area in the shape of the brush i.e. Tree leaves.
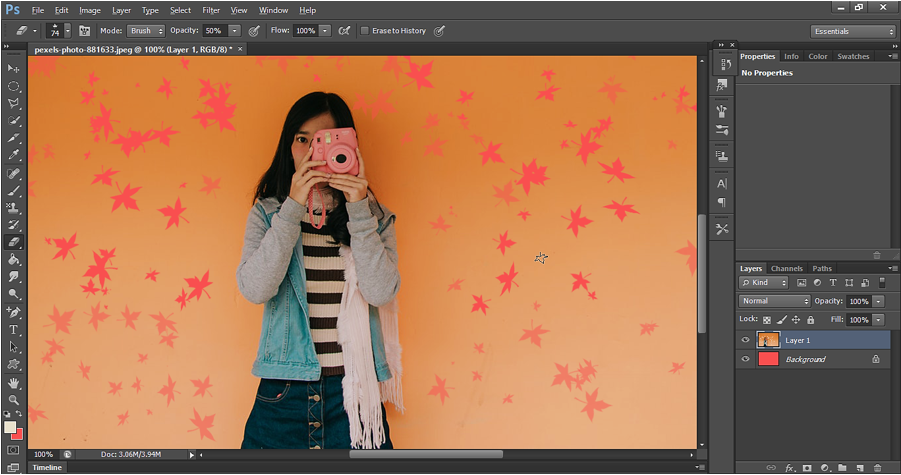
Now change the opacity to 50 % and use eraser tool and apply it on rest of the canvas. Below is the final image.
Background Eraser Tool in Photoshop
Background Eraser tool in Photoshop is used to remove the current background of an image. If there is no background under the current layer, then image background become transparent.
Let’s take an example to understand it better.
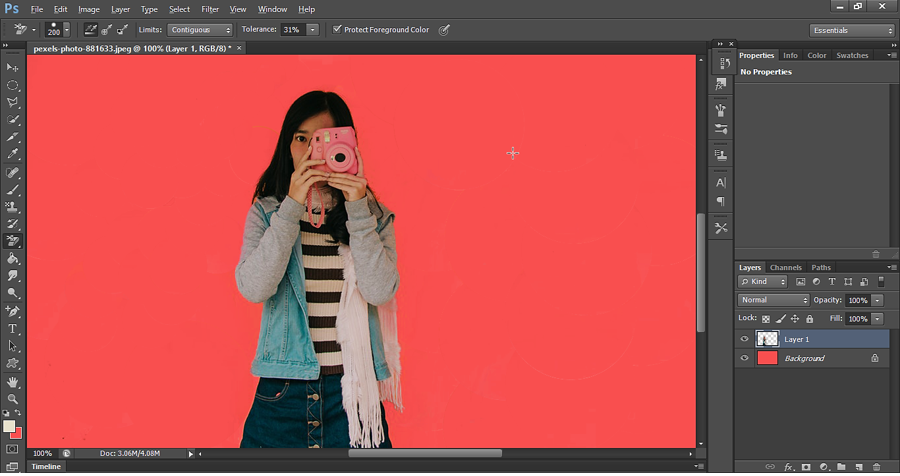
Background Eraser Tool example in Photoshop
Select Background Eraser Tool and apply it on the canvas with below settings:

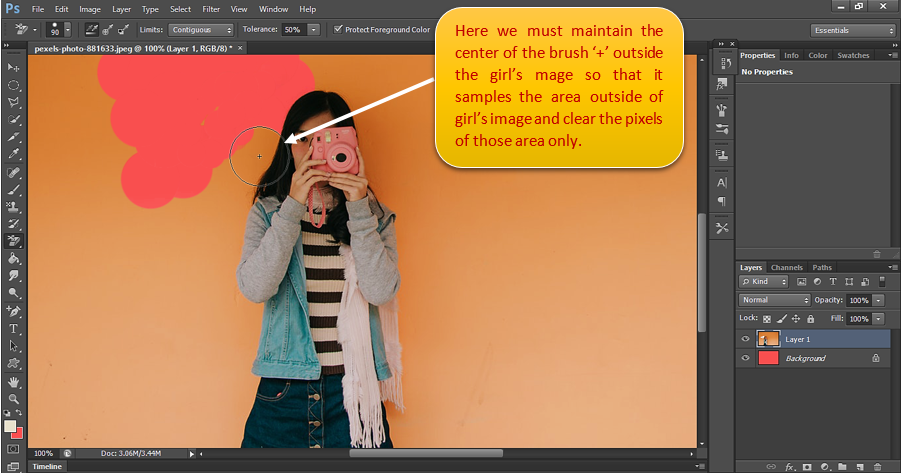
Here  denotes continues sampling i.e. as we drag the eraser brush to different area, it picks up the sample on the way and find the matching pixel to clears those pixels. Here we must maintain the center of the brush ‘+’ outside the girl’s image so that it samples the area outside of girl’s image and clear the pixels of those area only.
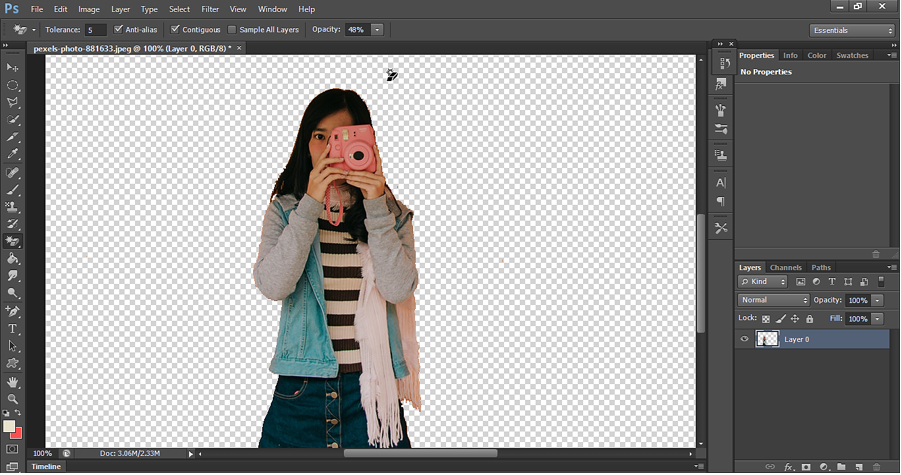
We can adjust the Tolerance of the eraser brush. More Tolerance means more shading of color will be erased from the pic. Below is the final pic after erasing the background pixels of the current image.
Here we can hide the background layer to get the image on transparent pixels.
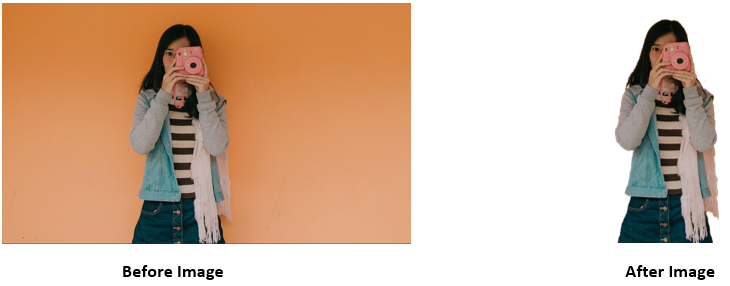
Background Erase Tool Output:
Magic Eraser Tool
Magic eraser tool in Photoshop is used to remove the pixels of an image. First it picks the pixel color of the place, where we click on the canvas. If Tolerance=0, then it removes the pixels on canvas which is completely matches the sample color. To erase different shading of the color, we need to increase to Tolerance. If Tolerance=255, it will erase compete picture.
Magic Eraser Tool example in Photoshop
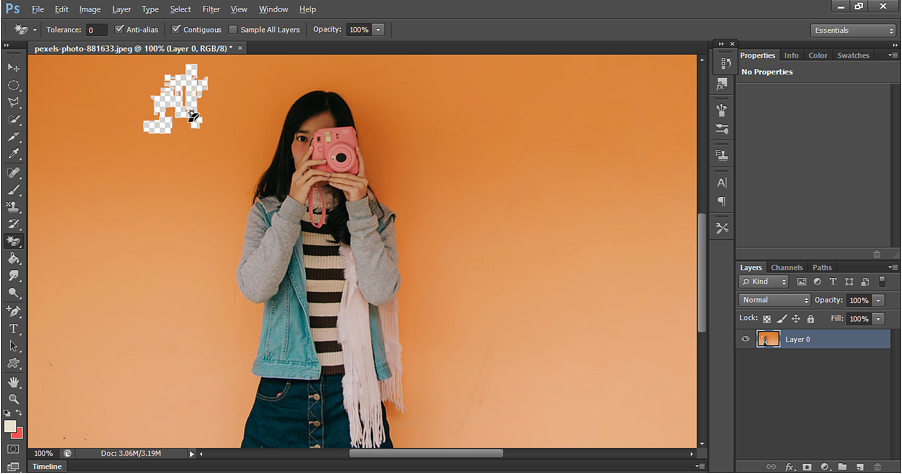
Select the magic eraser tool  and set the Tolerence=0 in Option bar:
The background of image below is in the form of Shading. If we set the Tolerance=0, it will erase only small area as shown below.
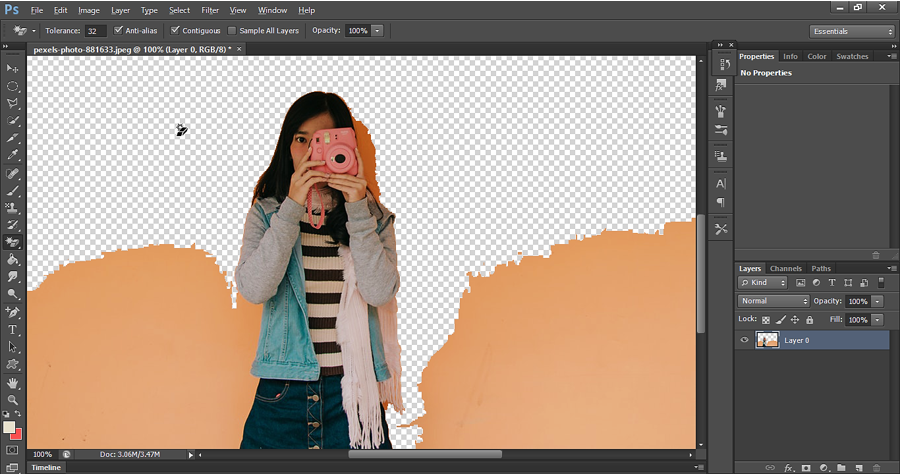
Let set the Tolerance=32 and then use the magic eraser. We can see below; it gives a very good result.
*Note: Anti-alias gives a smooth curve when we apply erase tool nearby edges. So, it must be enabled in option bar.
Now click on rest of the image. We can decrease the opacity to clear the pixels near the edges to have smooth pixels rather than hard pixel which doesn’t give image a smooth edge look.
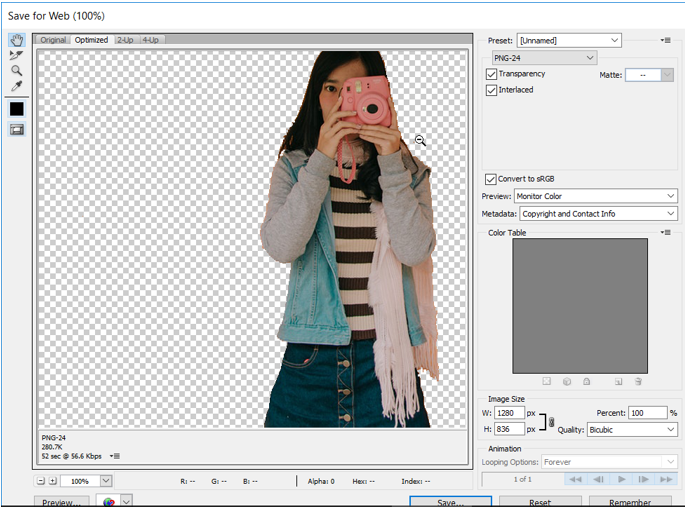
Now we can Click on File -> Save for Web and save the image with transparent background.
Note: Here we may get rough edges even we have anti-alias checked in option bar. To get smooth edge, we may need to apply smudge tool on the edges.
Background Erase Tool Output: